
Here are some hot tips I picked up from my glorious time in the chair:
- Always use heat protectant on every single section. Always, always, always. In the past I would just give it a quick spritz but Potemba stressed how important it is to be mindful and spraying every section before you introduce heat.
- For some serious uplifting, retro volume, Potemba showed me how to over direct my hair and the proper way to tease. You start by teasing your roots with a large-tooted comb and spritz on some texture spray. And she’s not playing when it comes to overdirecting. I think parts of my hair were in the next room, haha.
- When brushing out your curls, be sure to spritz the brush with finishing spray. This will give you a polished 1960’s vibe.
- The brand is coming out with some exciting new products this spring, and if you love cool beauty tools, I assure you, you will be blown away.
- Pin up your curls and let set for a few minutes. (I never take the time to do this, but’s it’s SO worth the extra step. My pin-up moment below…indulge me!
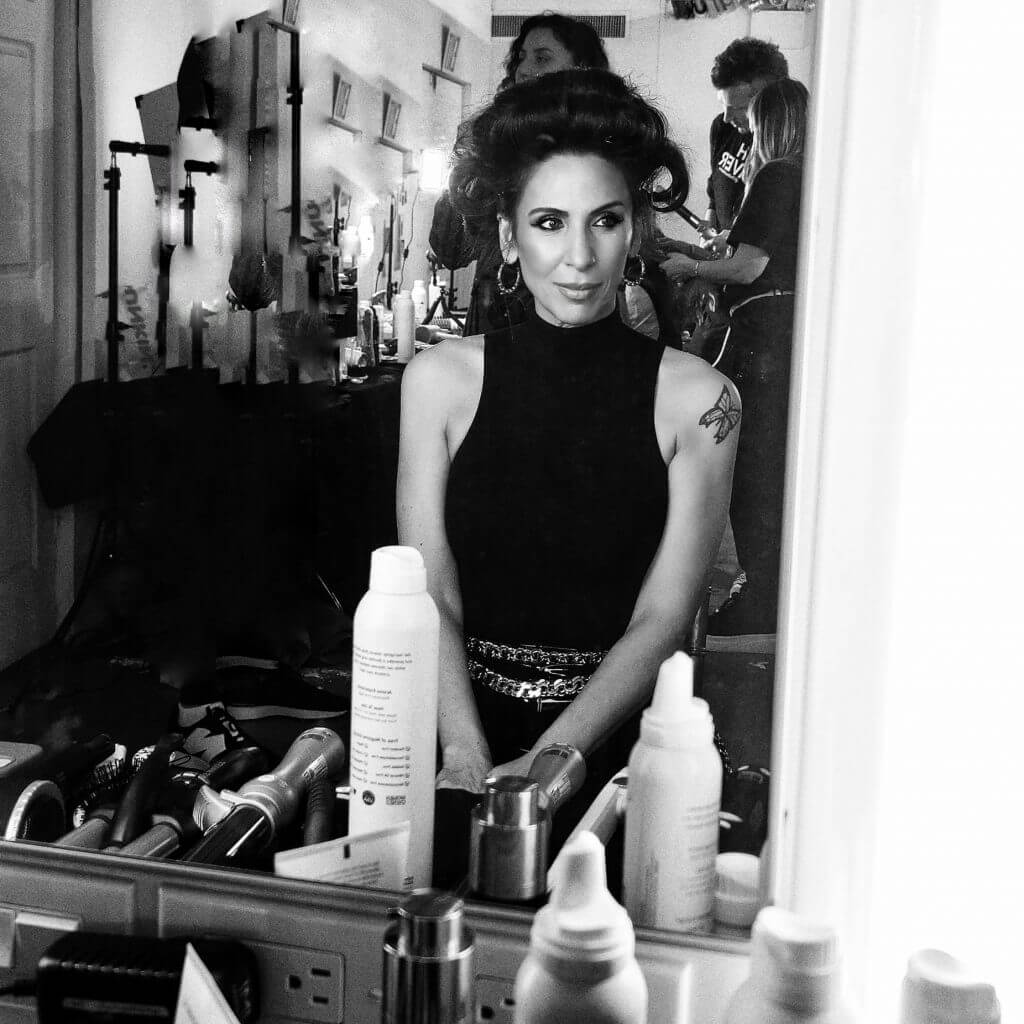
Ok, enough about my hair, let’s get to the main event.
Here are some of the hottest Beachwaver Co. x Art Hearts Fashion runway hairstyles I loved, plus expert tips and tricks on how Potemba achieved the look.
Deep Side Parts at Bad Sisters

Step 1: Create a clean side part by following the arch of your brow up through the hair with a Wide Tooth Comb. This is a great guide to help get the perfect, clean, dramatic side part every time.
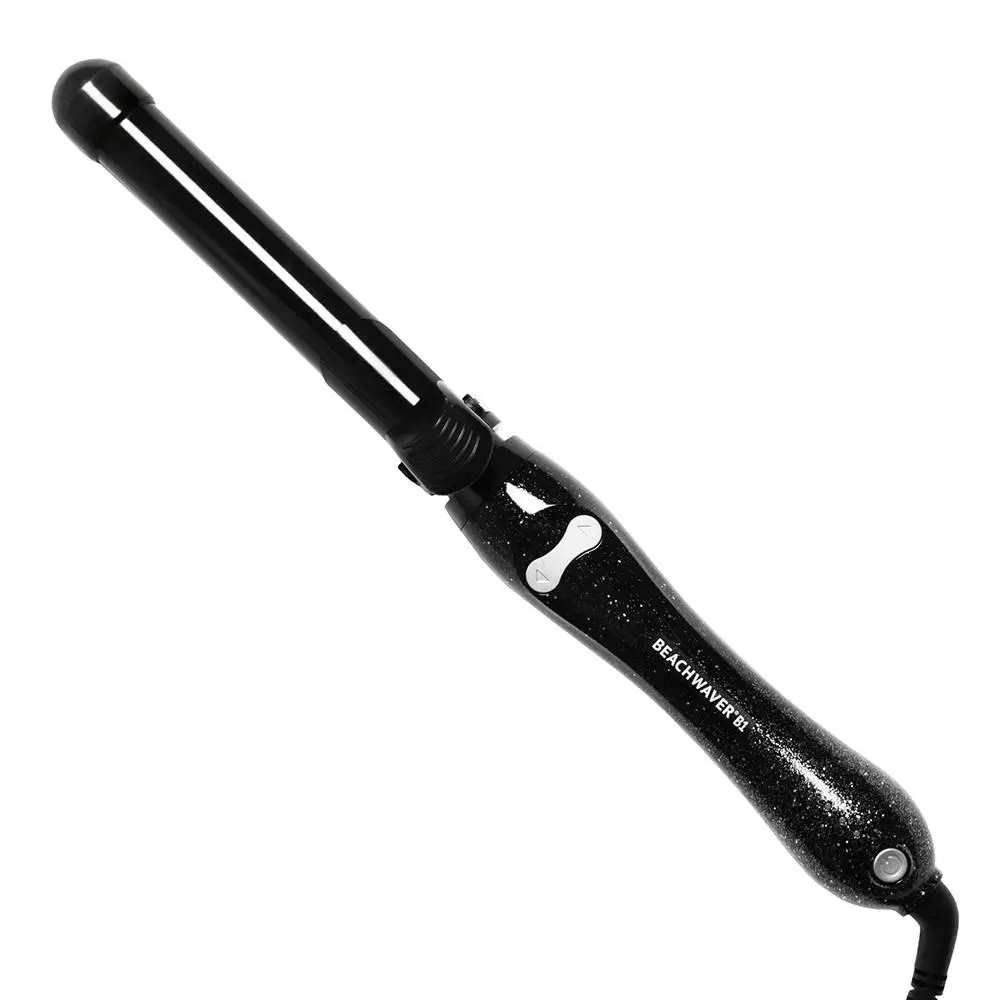
Step 2: Using the Beachwaver Pro 1”, curl at a 90° angle rotating toward the face. After releasing the clamp, roll the curl back up and secure it at the root with a clip. This will create a roller set. To create more volume at the root, over-direct the top section of hair by holding the Beachwaver horizontally. Make sure to get as close to the root as possible.
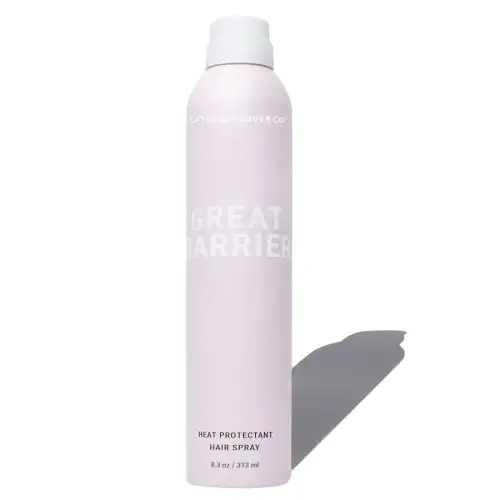
Step 3: Once the hair has completely cooled, remove all of the clips and let the curls down. Spray the On Set Pro Brush with Great Barrier Heat Protectant Hairspray and brush through all of the curls. You should see the hair begin to come together into a glamorous wave pattern. Continue spraying and brushing through the hair to manipulate it into the exact shape you want.
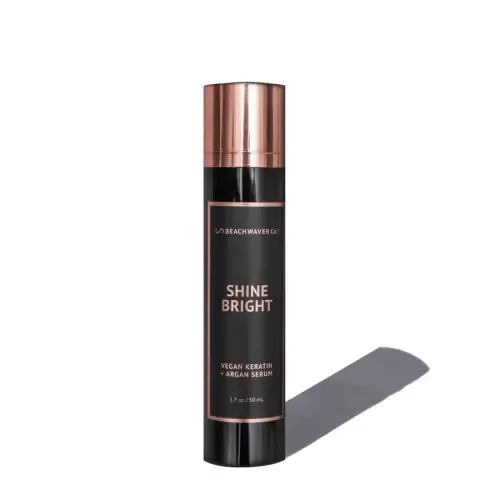
Step 4: Apply the Shine Bright Vegan Keratin + Argan Serum to the middle through the ends of the hair for gorgeous finish!
Tip: To add more lift to the side bang, spray underneath the hair with Great Barrier Heat Protectant Hairspray and place the can under the bang to create a sort of arch shape. This will give dramatic lift and volume to the to this vintage loo
Sleek Ponytails at Jesus De La Garsa

Step 1: Prep the hair by brushing thoroughly with the Prep Brush to smooth and remove any tangles. Create a clean side part by following the arch of your brow up through the hair with a Wide Tooth Comb. This will give you the perfect, clean, dramatic side part.
Step 2: Remove any wave in the hair by straightening it with the Coast Pro Flat Iron. Brush Bring Balance Organic Argan + Marula Hair Oil evenly throughout the hair to create a healthy, hydrated, smooth look.
Step 3: Spray the On Set Brush with Great Barrier Heat Protectant Hairspray and smooth all of the hair back into a tight, low ponytail. Take a half-inch section of hair and wrap it around the base of the ponytail to hide the elastic and pull through with a hair pin to secure it.
Edgy Dutch Braids at MISTERTRIPLE X


Step 2: Separate the hair into 3 pieces and create a dutch braid by the mantra “Right under the middle, left under the middle” and then add hair from the root on each section as you braid down.
Step 3: Then Smooth the left and right sections with the Coast Pro Flat Iron and bring all the hair into a low ponytail.
Step 4: Creating the triangle, detailed shape requires small elastics and the Braid Balm Pre-Braid Prep. Split he hair in 2 and create 2 ponytails. Then continue to split all the way down creating multiple ponytails!
Bombshell Volume at Raul Penaranda
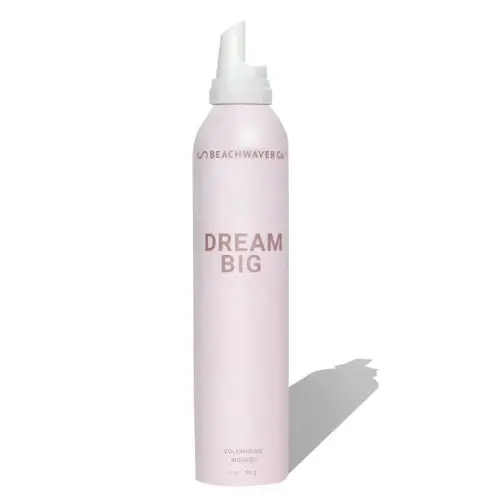
Step 1: Prep the hair with Dream Big Volumizing Mousse to add grip, hold, and volume to the hair. Then, using the Beachwaver Pro 1.25, create soft, loose waves all the way around the head. To create more texture and dimension, alter the direction of the curls away and toward the face.
Step 2: To create more volume at the root, over-direct the top pieces and hold the Beachwaver horizontally. Get as close to the root as possible. After releasing the curl, you can roll the hair back up and pin it to cool. This will allow the curl to set and help the volume last.
Step 3: After the hair has completely cooled, finger comb through the curls to break them up and add texture. Then, feather Team Texture Dry Finishing Spray through the bottom and bang of the hair to add incredible volume.
The Wet Look at Talia Leigh

Step 1: Apply Inner Strength all over the hair. This will create a great base for a “wet hair” effect.
Step 2: A hair oil like Bring Balance Organic Argan + Marula Hair Oil can be applied throughout the hair as well to better maintain the “wet” look over time.
Step 3: Use a wide tooth comb to push all of the hair back behind the shoulders. The hair should have a loose piecey texture that the teeth of the comb create. Gently scrunch the ends of the hair to give them a relaxed, textured look.
Glamorous Waves at Czarina

Step 1: Prep the hair with Dream Big Volumizing Mousse to add grip, hold, and volume to the hair. Then, using the Beachwaver Pro 1, create classic Beachwaves all the way around the head curling away from the face. To create more volume at the root, over-direct the top section of hair by holding the Beachwaver horizontally. Make sure to get as close to the root as possible.
Step 2: Once the curls have completely cooled, spray a mixed bristle brush with Great Barrier Heat Protectant Hairspray and brush through the curls to create glamorous waves.
Step 3: Add volume to the root with Team Texture Dry Finishing Spray and add shine with Shine Bright Vegan Keratin + Argan Serum. This will help to achieve a voluminous, glam wave.